After completing this lesson, you’ll be able to:
In this lesson, you will:
After completing this lesson, you’ll be able to:
In this lesson, you will:
If you're taking a live Safe Software-hosted training course or using an on-demand lab for this course, we've already imported the content for this lesson into your FME Flow.
If you're completing this lesson with your own FME Flow, you must import the starting project with the content into your FME Flow.
See FME Flow Authoring: Instructions to Import the Starting Project for directions to import the project to your own FME Flow.
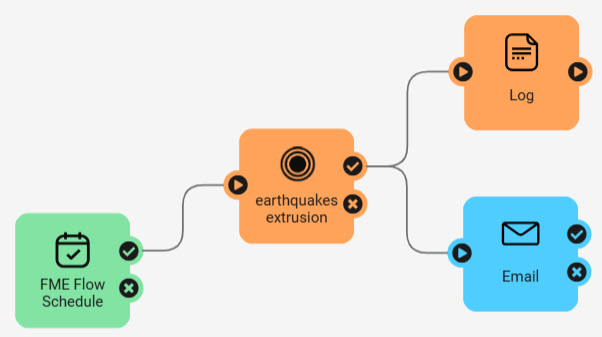
FME Flow Automations also have scheduling capabilities similar to schedules. The FME Flow Schedule trigger kicks off an automation on a schedule. Following the FME Flow Schedule trigger, you may run a single workspace, multiple workspaces, or perform other internal or external actions, making this approach more adaptable and flexible than Schedules for different workflows.
As you learned in the previous lesson, you configure a schedule to run a workspace by completing a single form that specifies the schedule and workspace details. In automations, you must configure both the FME Flow Schedule trigger and a Run a Workspace action to accomplish the same scenario as a schedule.
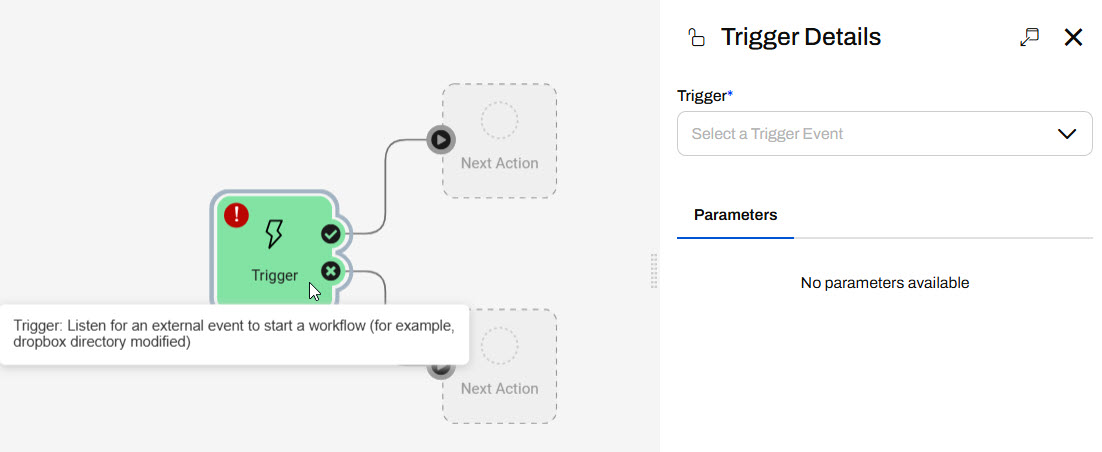
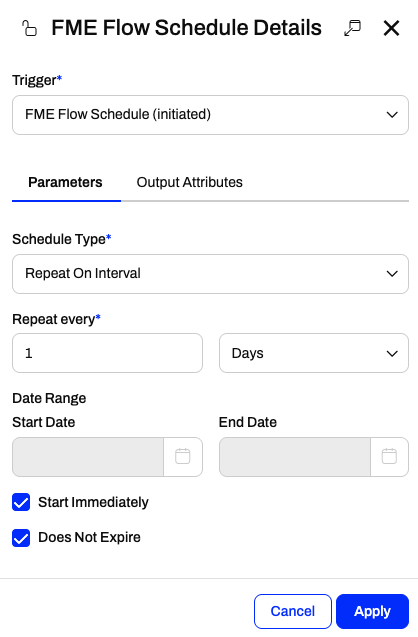
Each automation begins with a trigger. To configure the trigger to be a schedule, open the trigger details and select FME Flow Schedule (initiated) from the Details panel. From here, you configure the Schedule Type and set up the parameters for when you want the schedule to run and repeat.
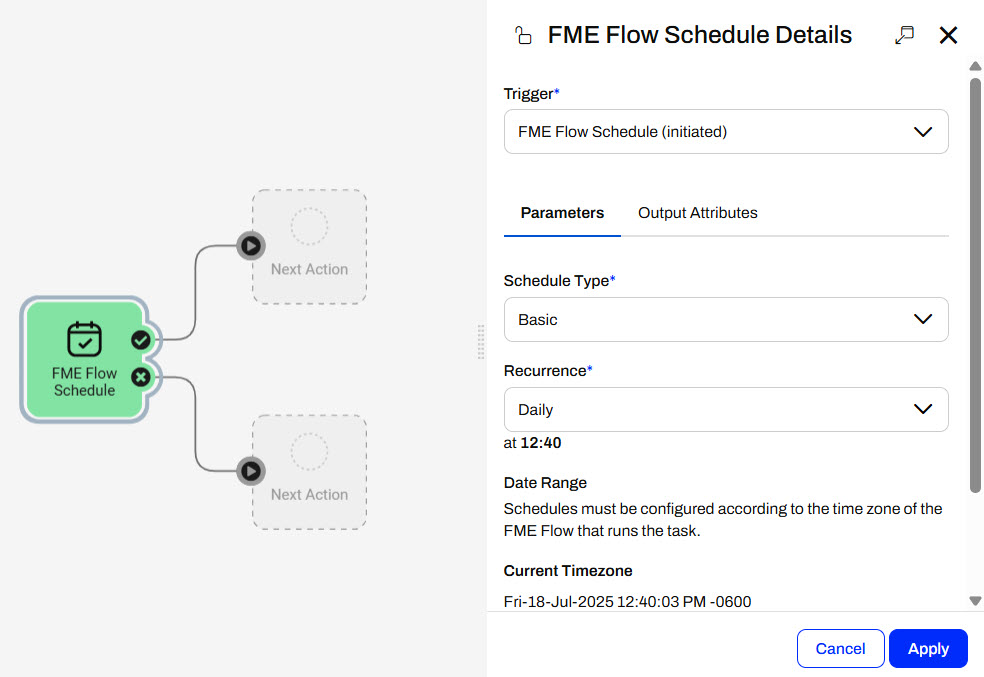
The FME Flow Schedule (initiated) trigger supports three Schedule Types:
These are the same Schedule Types as FME Flow offers in Schedules, except for the Occur Only Once option.
Again, you may also configure a Date Range for the FME Flow to trigger the automation.
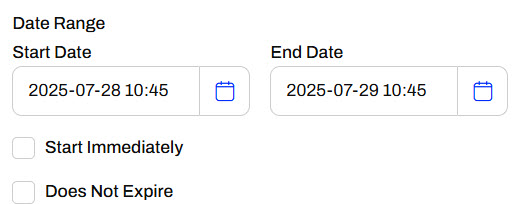
Start Immediately triggers the schedule to begin immediately when you start the automation. And Does Not Expire allows the schedule to run until you manually stop the automation, removing the End Date value.
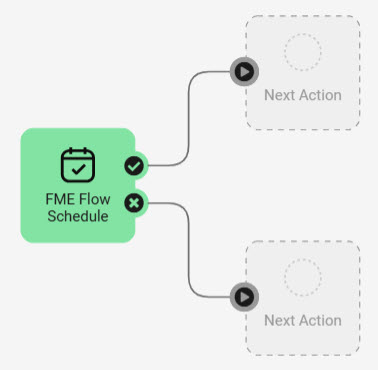
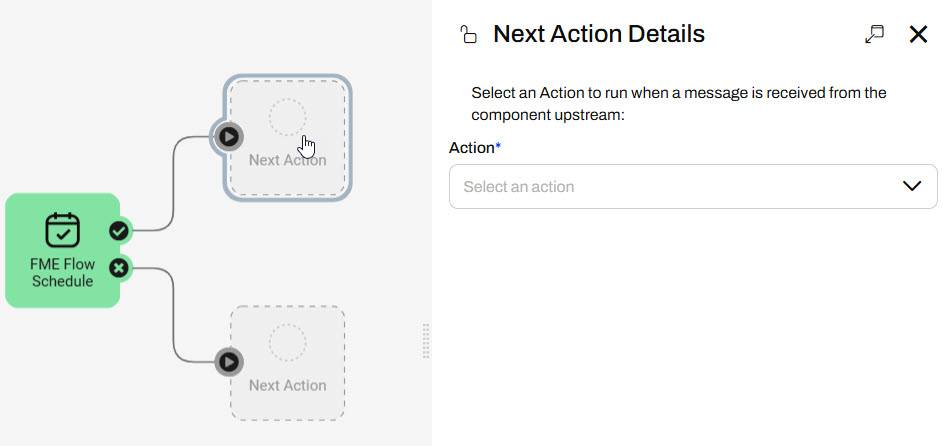
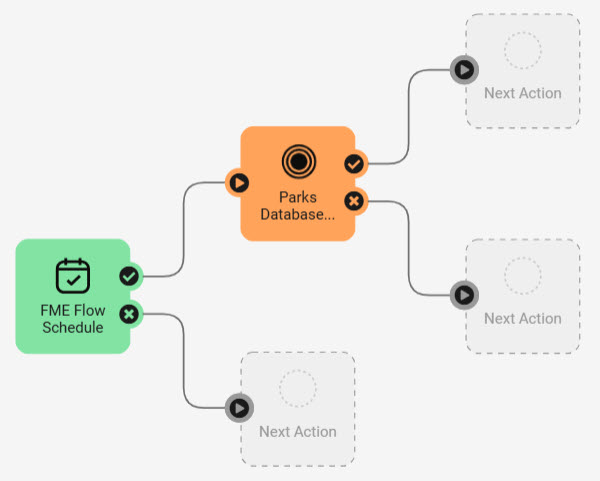
To run a workspace when the automation triggers, you must connect a Run a Workspace internal action to the trigger's success port.
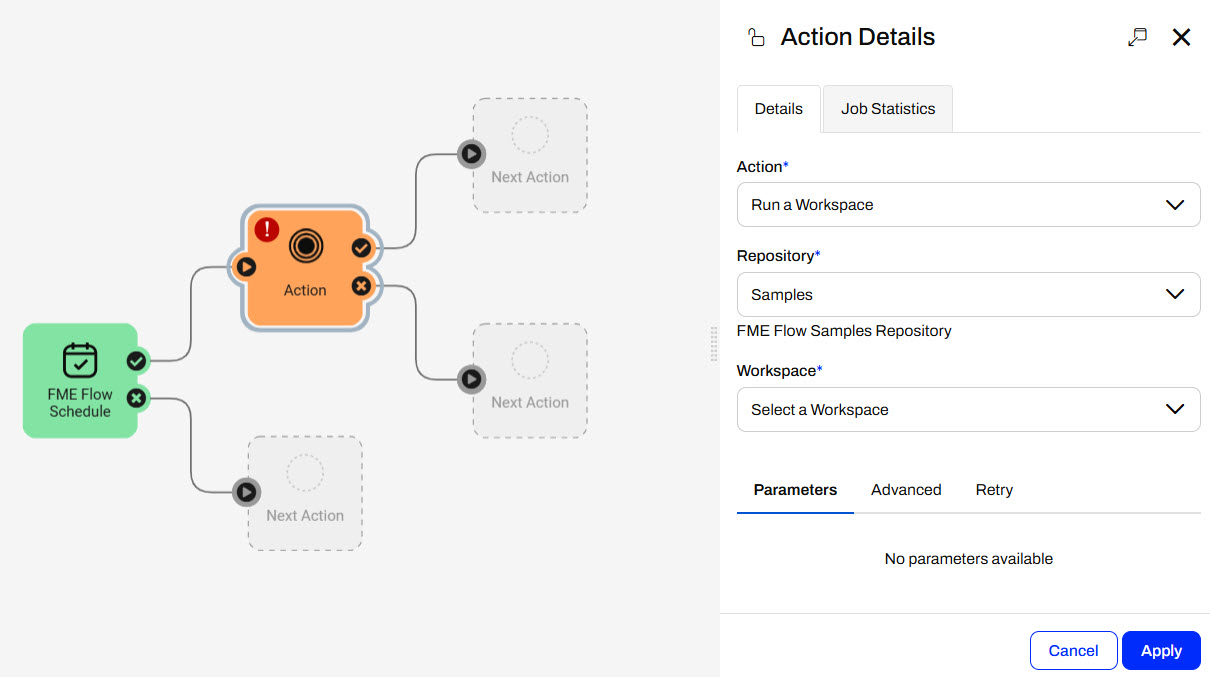
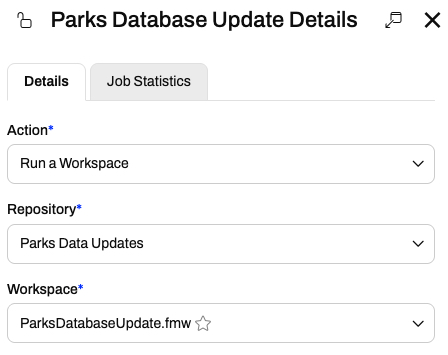
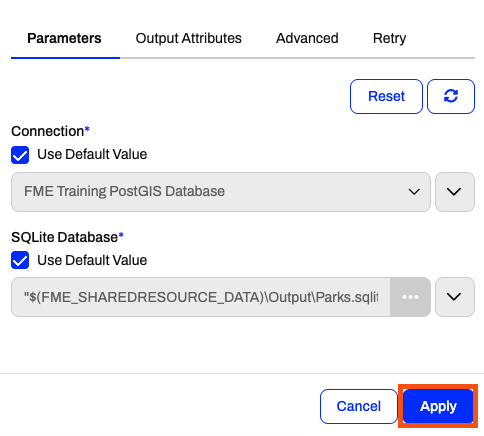
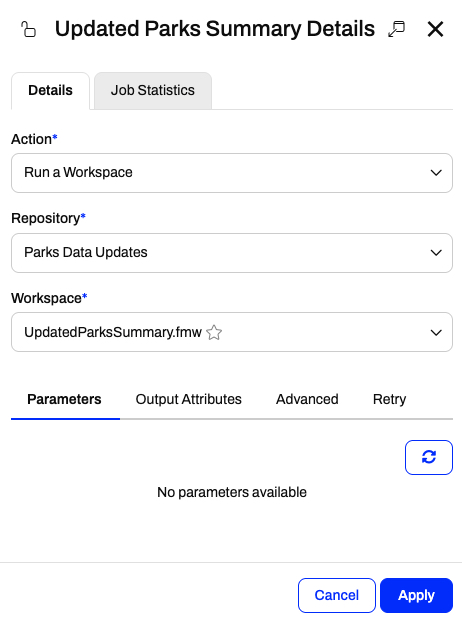
In the Action Details pane, you configure the workspace you want to run and set any parameters for the workspace. If the workspace contains user parameters, FME Flow lists them in the Parameters section.
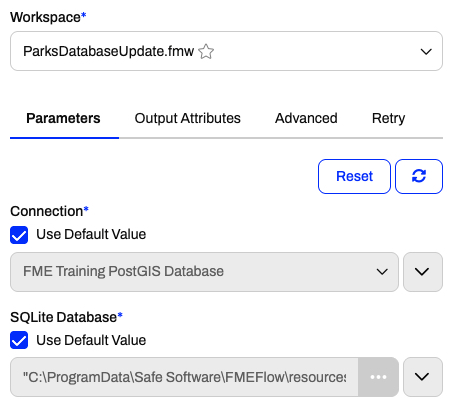
The same queue, expiry, and debug options are available under the Advanced tab in automations, as in the Advanced section of schedules. Once you apply your settings, the action on the automations canvas will update to reflect your workspace name.
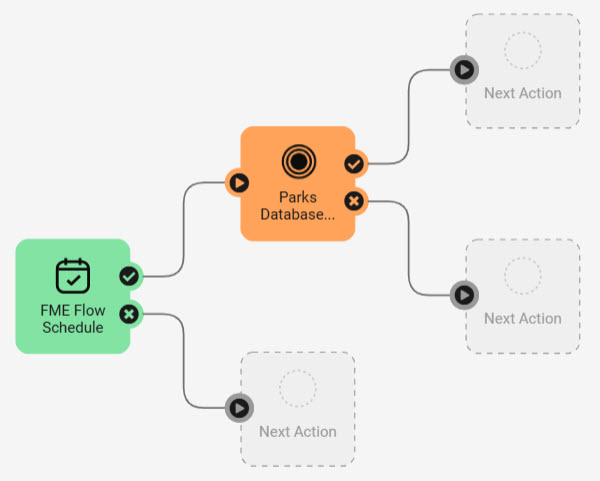
You may connect and configure additional internal and external actions to the workspace action's success and failure ports.
Once you add and configure your trigger and actions in your automation, you must start it to begin running on the schedule.
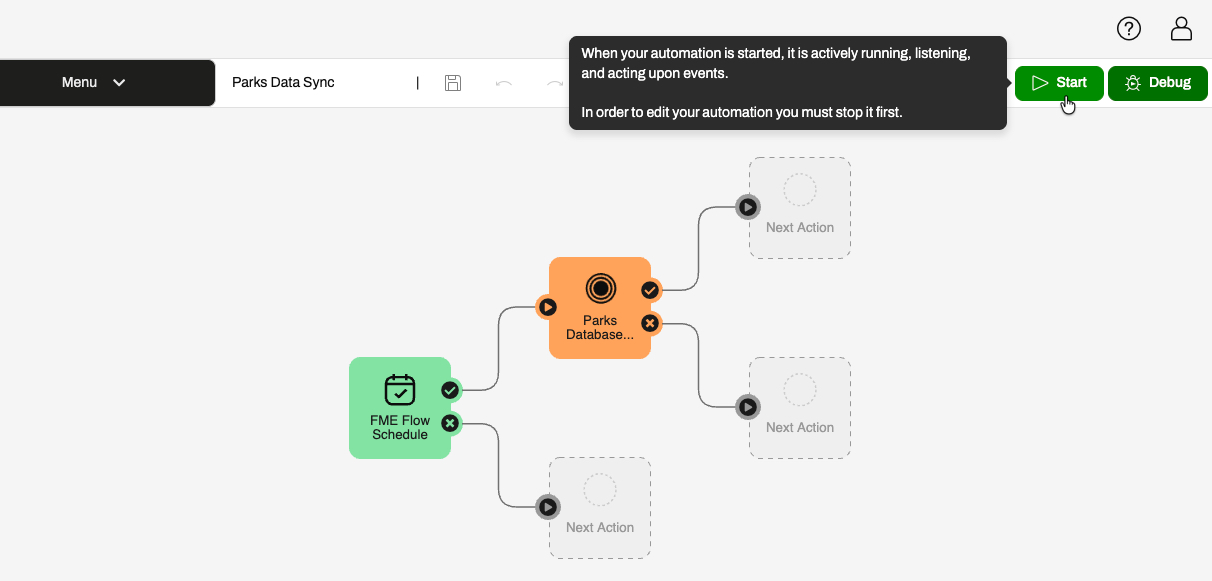
While the automation is running, it will trigger your workspace according to the schedule you set.
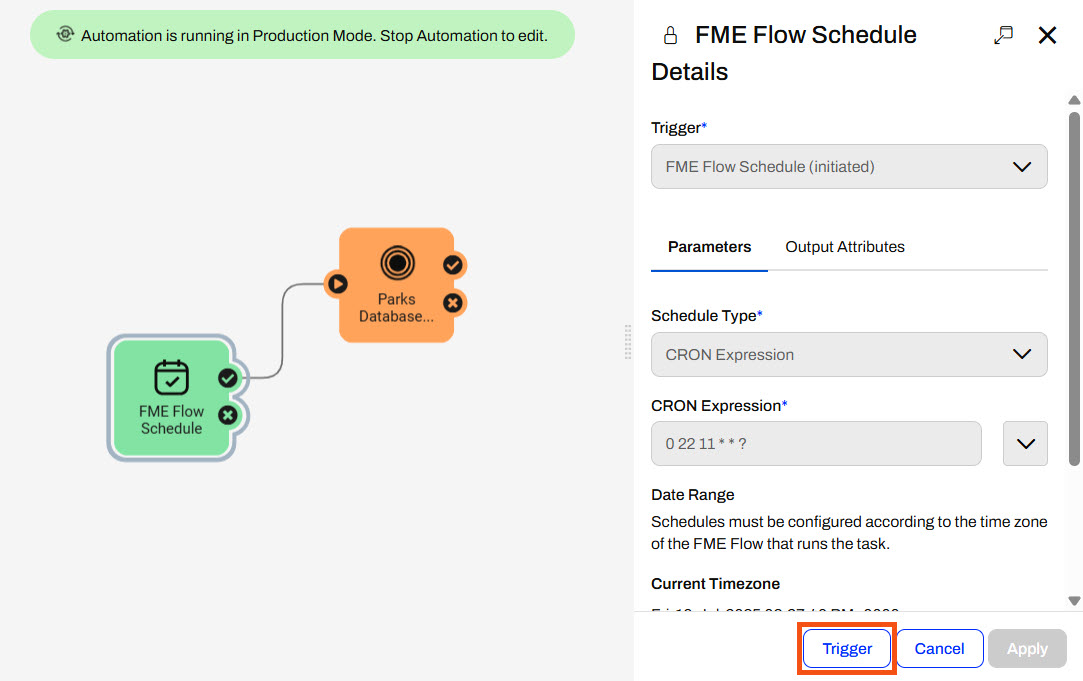
Optionally, you can manually trigger the automation by opening the schedule trigger details and clicking Trigger.

Jennifer continues with her Parks database update workflow. However, she has now created a summary workspace on the incoming data to the SQLite database. She needs to process this workspace immediately after running the Parks Database Update workspace. She's already published the workspaces to FME Flow and will create an automation to run her multi-workspace workflow on a schedule.
In this exercise, you will:
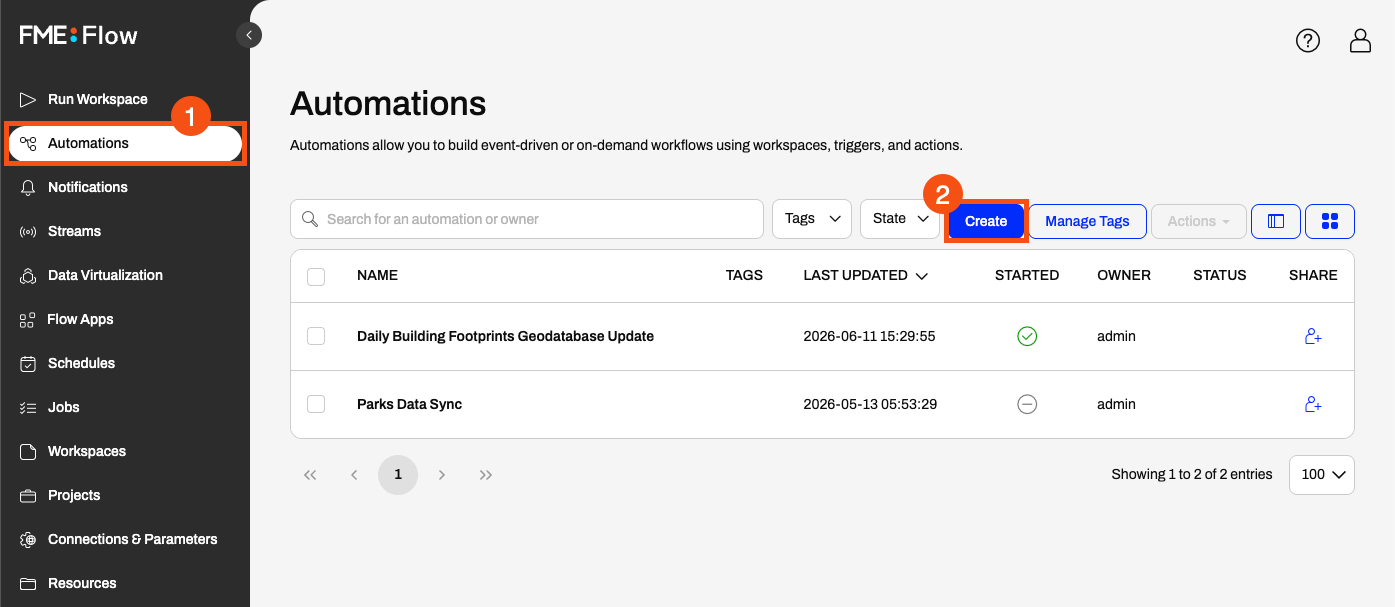
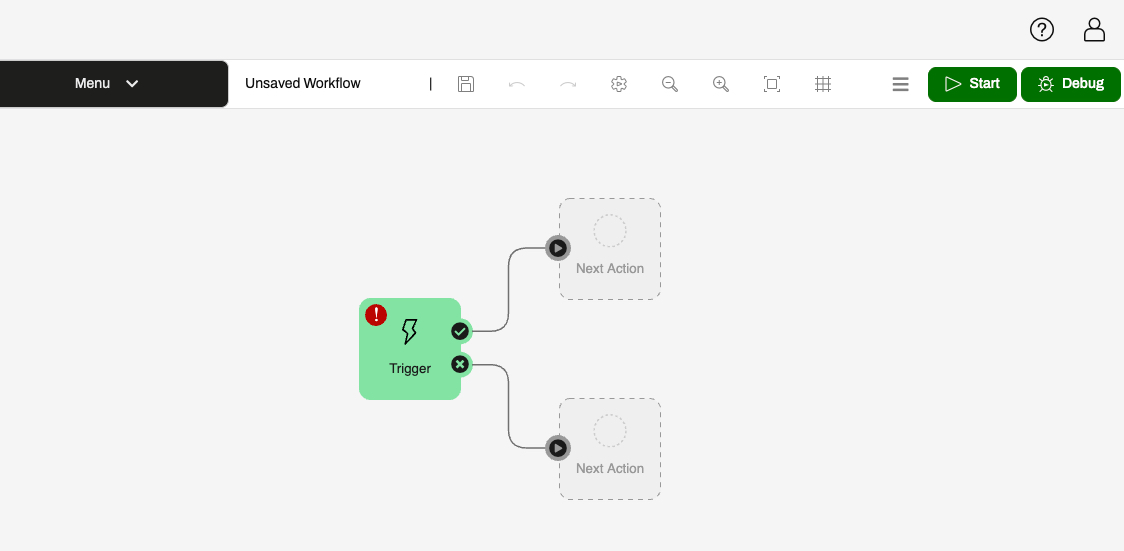
The FME Flow Automations canvas opens with a ready-to-configure trigger.
The workspace action will appear and update on the canvas.
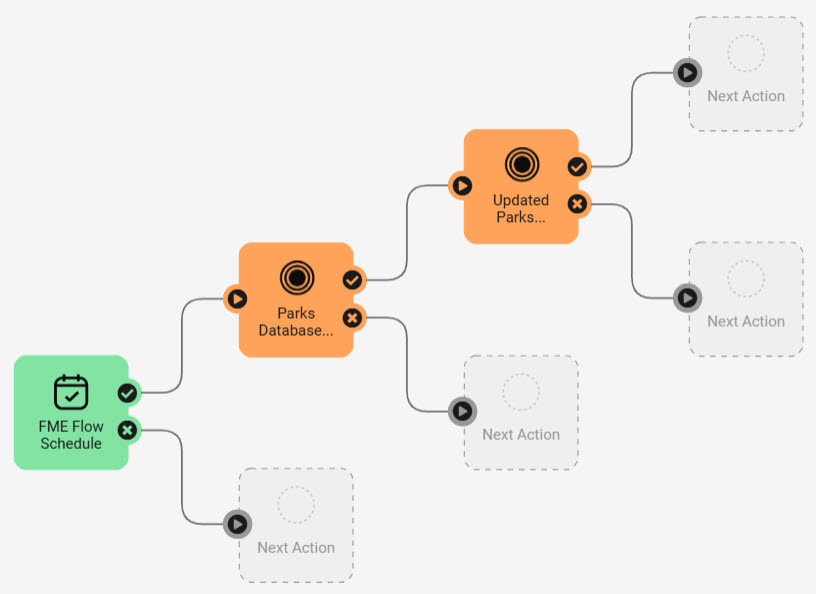
Your automation now has the FME Flow Schedule Trigger and two Run a Workspace actions.


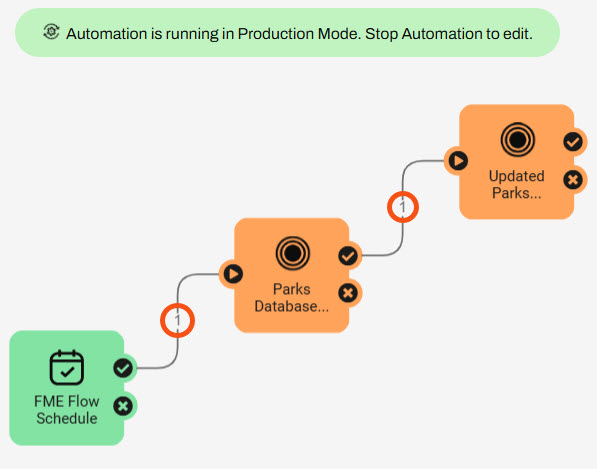
Since you configured the schedule trigger to start immediately, FME Flow runs the automation right after you start it.
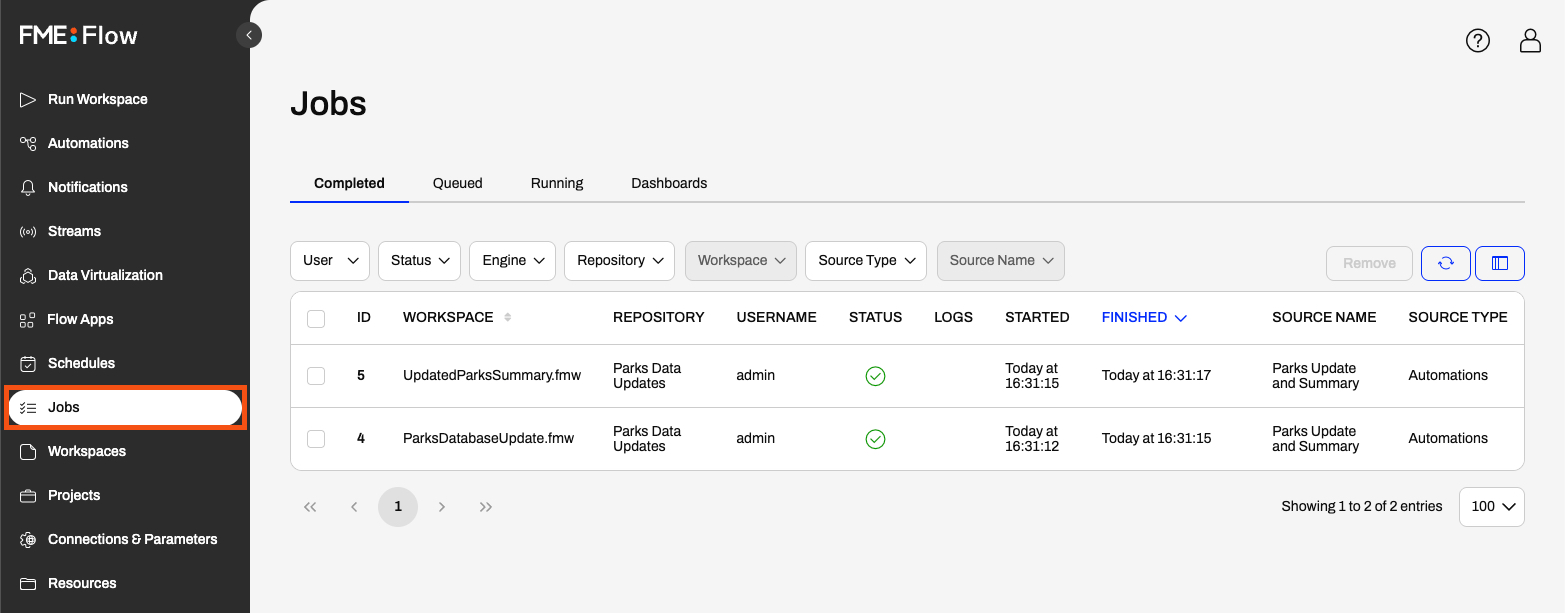
You've now helped Jennifer set up an automation to run multiple workspaces daily. Jennifer will save time by not running them manually and will ensure the data is consistently up to date.
If you're taking a live Safe Software-hosted training course or using an on-demand lab for this course, we've already imported the content for this lesson into your FME Flow.
If you're completing this lesson with your own FME Flow, you must import the starting project with the content into your FME Flow.
See FME Flow Authoring: Instructions to Import the Starting Project for directions to import the project to your own FME Flow.
FME Flow Automations also have scheduling capabilities similar to schedules. The FME Flow Schedule trigger kicks off an automation on a schedule. Following the FME Flow Schedule trigger, you may run a single workspace, multiple workspaces, or perform other internal or external actions, making this approach more adaptable and flexible than Schedules for different workflows.
As you learned in the previous lesson, you configure a schedule to run a workspace by completing a single form that specifies the schedule and workspace details. In automations, you must configure both the FME Flow Schedule trigger and a Run a Workspace action to accomplish the same scenario as a schedule.
Each automation begins with a trigger. To configure the trigger to be a schedule, open the trigger details and select FME Flow Schedule (initiated) from the Details panel. From here, you configure the Schedule Type and set up the parameters for when you want the schedule to run and repeat.
The FME Flow Schedule (initiated) trigger supports three Schedule Types:
These are the same Schedule Types as FME Flow offers in Schedules, except for the Occur Only Once option.
Again, you may also configure a Date Range for the FME Flow to trigger the automation.
Start Immediately triggers the schedule to begin immediately when you start the automation. And Does Not Expire allows the schedule to run until you manually stop the automation, removing the End Date value.
To run a workspace when the automation triggers, you must connect a Run a Workspace internal action to the trigger's success port.
In the Action Details pane, you configure the workspace you want to run and set any parameters for the workspace. If the workspace contains user parameters, FME Flow lists them in the Parameters section.
The same queue, expiry, and debug options are available under the Advanced tab in automations, as in the Advanced section of schedules. Once you apply your settings, the action on the automations canvas will update to reflect your workspace name.
You may connect and configure additional internal and external actions to the workspace action's success and failure ports.
Once you add and configure your trigger and actions in your automation, you must start it to begin running on the schedule.
While the automation is running, it will trigger your workspace according to the schedule you set.
Optionally, you can manually trigger the automation by opening the schedule trigger details and clicking Trigger.
Jennifer continues with her Parks database update workflow. However, she has now created a summary workspace on the incoming data to the SQLite database. She needs to process this workspace immediately after running the Parks Database Update workspace. She's already published the workspaces to FME Flow and will create an automation to run her multi-workspace workflow on a schedule.
In this exercise, you will:
The FME Flow Automations canvas opens with a ready-to-configure trigger.
The workspace action will appear and update on the canvas.
Your automation now has the FME Flow Schedule Trigger and two Run a Workspace actions.
Since you configured the schedule trigger to start immediately, FME Flow runs the automation right after you start it.
You've now helped Jennifer set up an automation to run multiple workspaces daily. Jennifer will save time by not running them manually and will ensure the data is consistently up to date.